
How To Scout Deer Like a Pro: The Complete Guide
The difference between a hunter who fills a tag every year and one who doesn’t usually isn’t luck, gear, or even shooting skill — it’s scouting. Serious whitetail hunters spend far more hours studying maps, checking cameras, and reading sign than they ever spend sitting in a stand with a weapon in hand. Scouting is what turns a random patch of woods into a predictable ambush point, and it’s what separates hunters who consistently see mature deer from hunters who mostly see does and small bucks.
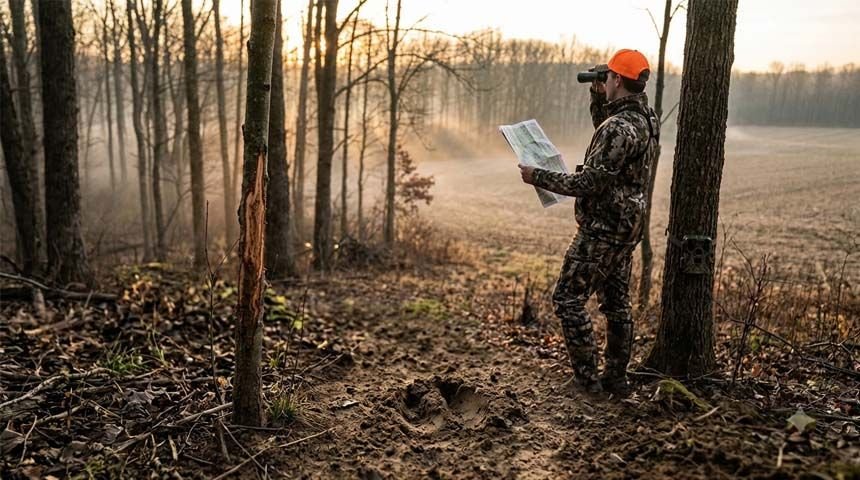
This guide walks through the exact process serious whitetail hunters use to scout a property from the couch, from the truck, and on foot — without blowing out the deer they’re trying to pattern. We’ll cover e-scouting with aerial and topo maps, reading physical sign like rubs and scrapes, using trail cameras effectively, understanding wind and thermals, mapping travel corridors, and scouting in phases across the year. Understanding whitetail deer behavior is the foundation everything below builds on, so if you haven’t read that yet, it’s worth doing first.
“Scouting isn’t something you do once before the season opens — it’s an ongoing process that should continue, in different forms, from the last day of last season to the first shot of this one.”
🗺️ The Scouting Process, Step by Step
Start With E-Scouting Before You Ever Set Foot on the Property
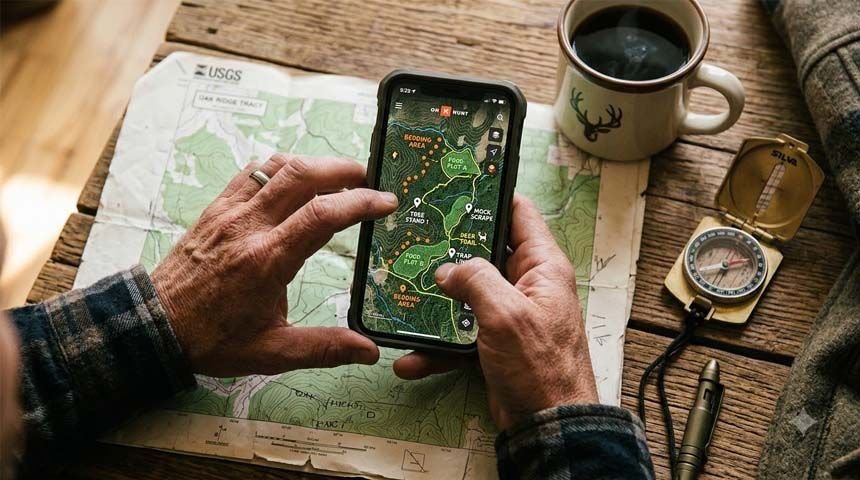
Before walking a single trail, pull up aerial imagery and topographic maps of the property. Look for terrain features that concentrate deer movement: saddles between ridges, points jutting into fields, benches on hillsides, creek crossings, and thick cover adjacent to open food sources. Satellite imagery from different seasons — leaf-off versus leaf-on — reveals bedding cover and canopy structure that’s invisible on the ground. Mark potential bedding areas, food sources, and funnels digitally first, then narrow your in-person scouting to the handful of spots that actually deserve boots on the ground.
- Use topo maps to find natural funnels: saddles, points, and narrow ridge crossings
- Compare leaf-on and leaf-off satellite imagery to spot thick bedding cover
- Identify field edges, water sources, and transition zones between cover types
- Mark 3–5 candidate spots before ever walking the property
Learn to Read Physical Sign on the Ground
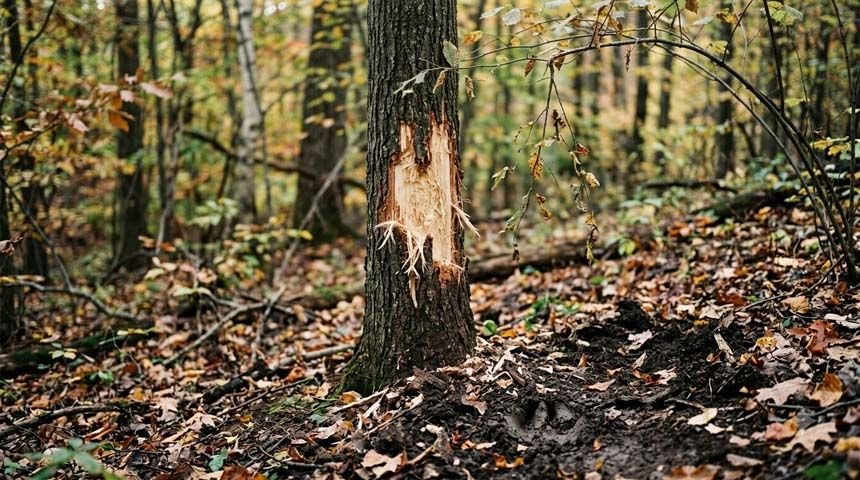
Once you’re in the field, sign tells you what deer are actually doing, not just where they could be. Rubs on trees indicate travel routes and buck activity, especially fresh rubs on larger diameter trees, which often signal a mature buck. Scrapes — pawed patches of ground beneath an overhanging licking branch — show up most heavily during the pre-rut and mark active buck territory. Trails worn into the ground, especially those with fresh, deep tracks, reveal regular travel patterns. Bedding areas show up as flattened, oval depressions in grass or leaf litter, often on slight rises or in thick cover with a view of the approach. Learning to read these signs accurately takes reps, but each one adds a piece to the puzzle of how deer are using the land.
- Rub lines often reveal a buck’s regular travel corridor
- Fresh scrapes cluster near bedding-to-feeding travel routes during the rut
- Track size and depth can hint at the size and recency of the deer that made them
- Bedding areas are usually on slightly elevated ground with cover and a clear wind check
Confirm and Monitor Food Sources
Deer movement almost always revolves around food, and what deer are eating shifts throughout the season. Early season, they favor agricultural fields, food plots, and soft mast like fruit. Mid-season, acorns and other hard mast often take priority as deer bulk up ahead of the rut. Late season, deer key in on whatever calorie-dense food remains, often standing crops or well-established food plots. Knowing exactly what’s drawing deer in your area — whether it’s a planted food plot, natural browse, or something more specific like fruit-bearing trees and brush — lets you scout with a purpose instead of just wandering. If you spend enough time reading sign, you’ll occasionally come across something unusual too — our piece on how rare black deer really are covers what to make of an odd track or sighting that doesn’t match a typical whitetail.
- Early season: agricultural fields, food plots, soft mast (fruit, browse)
- Mid-season: hard mast like acorns, especially under white oaks
- Late season: standing crops, remaining food plots, high-calorie sources
- Confirm current food sources with fresh droppings, browse lines, and tracks nearby
Deploy Trail Cameras Strategically, Not Randomly
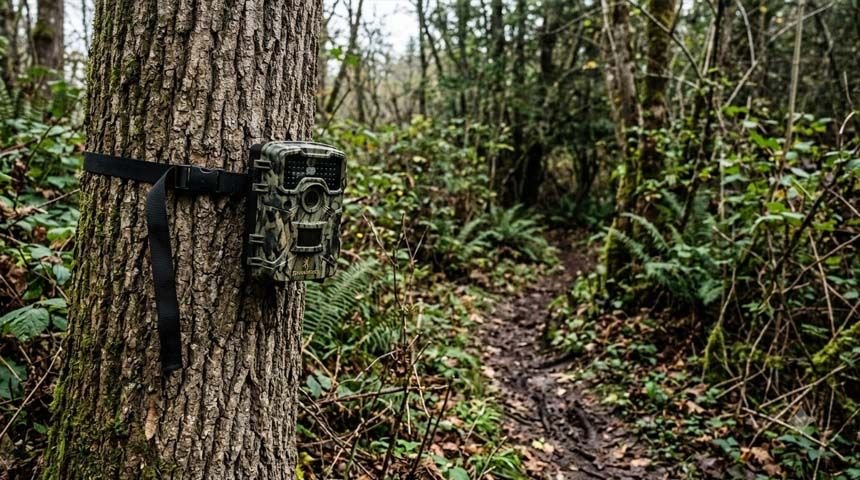
Trail cameras turn scouting from a snapshot into ongoing surveillance, but only if they’re placed with intention. Rather than scattering cameras everywhere, place them at pinch points, along active trails, over confirmed food sources, and on mock scrapes to gather the most useful data with the fewest camera checks. Fewer, well-placed cameras that you check infrequently cause far less disturbance than a dozen cameras you’re constantly walking in and out to check. Pair camera data with your e-scouting notes to build a real picture of buck activity, movement timing, and which trails see the most consistent traffic.
- Place cameras at confirmed pinch points and active trail intersections
- Use mock scrapes as camera bait — a proven deer attractant paired with a camera reveals which bucks are working the area
- Check cameras infrequently and with a scent-conscious entry/exit route
- Log time-stamped photos to identify daylight movement windows
Understand Wind and Thermal Patterns
A perfectly scouted spot is worthless if your scent blows straight into a deer’s bedding area. Learn the prevailing wind direction for your property across different times of day and different weather systems, and understand how thermals shift — rising as the ground warms in the morning, falling as it cools in the evening. Mature bucks in particular use wind and thermals defensively, often bedding where they can smell danger approaching from multiple directions. Your scouting notes should include which wind directions make each stand location huntable, and which ones rule it out entirely.
- Track prevailing wind direction by time of day and season for your specific property
- Remember thermals generally rise in the morning and fall in the evening
- Note which stand locations are only huntable in specific wind conditions
- Plan entry and exit routes that avoid blowing scent through bedding areas
Map Travel Corridors and Pinch Points
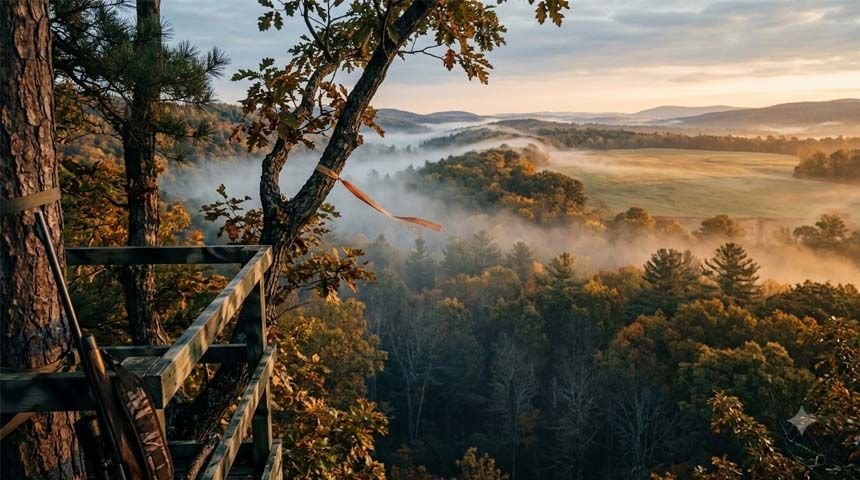
The most productive stand locations sit where deer are funneled into a predictable, narrow travel path — not out in the open where movement is scattered and unpredictable. Look for terrain and cover features that squeeze deer movement: fence line gaps, creek crossings, saddles between ridges, and narrow strips of cover connecting two larger blocks of habitat. These pinch points concentrate deer from a wider bedding or feeding area into a spot small enough to effectively hunt with a rifle scope or bow at realistic range.
- Fence gaps, gates, and low spots concentrate crossing points
- Creek and ditch crossings often funnel deer into narrow bands
- Saddles between hills reduce elevation change on a deer’s travel route
- Narrow cover strips connecting larger habitat blocks are prime pinch points
Scout in Phases Across the Year, Not Just Before Opening Day
Post-season scouting, done shortly after the season closes, is some of the most valuable scouting available — sign from the rut is still fresh, and you can walk bedding areas without pressuring deer during an active season. Summer scouting via trail camera and observation from a distance helps pattern bucks on a predictable summer feeding routine before antlers harden and patterns shift. Pre-season scouting in the weeks before opening day should focus on confirming current food sources and sign rather than aggressive on-foot exploration that risks blowing deer out right before you hunt. In-season scouting should be minimal and targeted — checking a camera here, confirming a scrape line there — rather than continuous pressure on the exact areas you intend to hunt. Late-season scouting trips often mean brutally cold sits too, so it’s worth having one of the best deer blind heaters sorted out before you’re glassing a food source at first light in freezing temperatures.
- Post-season: walk freely, map rub lines and bedding areas from the rut just passed
- Summer: pattern bucks from a distance via camera and glassing, minimal ground pressure
- Pre-season: confirm current food and sign, light-footprint scouting only
- In-season: minimal, targeted checks — avoid pressuring your best stand locations
Avoid Over-Scouting and Pressuring Your Own Ground
The most common scouting mistake isn’t scouting too little — it’s scouting too much, too aggressively, too close to when you actually plan to hunt. Mature bucks in particular respond quickly to human intrusion, sometimes shifting to nocturnal movement or relocating entirely after repeated pressure. Treat your best bedding-area intel as information to use sparingly, not an invitation to walk through it repeatedly. The goal of scouting is to hunt smarter with less pressure, not to satisfy curiosity by checking every camera and trail every week.
- Limit trips into bedding areas, especially during daylight hours in-season
- Use observation stands or optics to scout from a distance when possible
- Rotate entry and exit routes to avoid creating a predictable human scent trail
- Treat high-value stand locations as “one-shot” opportunities you don’t overuse
Build a Season-Long Scouting Journal
Individual scouting trips are useful, but the real value compounds when you track observations over multiple seasons. Log wind direction, temperature, moon phase, camera photos, sign locations, and stand results in one place, whether that’s a notebook, spreadsheet, or app. Patterns that aren’t obvious after one season — like a specific buck consistently showing up two days after a cold front — become clear after two or three years of consistent logging. This same record-keeping habit pairs naturally with a broader deer hunting gear checklist you review before each season.
- Record wind, weather, moon phase, and time for every sit and camera check
- Note which stand locations produced sightings and under what conditions
- Track buck sign year over year to identify consistent core areas
- Review your journal each off-season to refine next year’s stand locations
🎒 What to Bring on a Scouting Trip
Essential Scouting Kit
- Aerial/topo mapping app with offline access (loaded before you lose signal)
- Compass or GPS unit for marking sign, cameras, and potential stand sites
- Binoculars for glassing field edges and distant sign without walking in
- Trail cameras, SD cards, and batteries, plus a scent-conscious carrying method
- Rubber boots and scent-control spray to minimize the scouting footprint you leave behind
- Notebook or scouting app for logging sign, camera locations, and observations
- Marking flags or flagging tape for noting stand sites and access routes (removed before season)
- Wind checker or wind-detection powder to confirm airflow at each candidate site
❓ Frequently Asked Questions
1. How early should I start scouting for deer season?
Ideally, scouting starts the moment last season ends. Post-season scouting captures fresh rut sign without adding pressure during an active hunting period. From there, light summer scouting and a final pre-season check round out a full-year approach rather than a single scramble before opening day.
2. How many trail cameras do I actually need?
Quality of placement matters far more than quantity. A handful of cameras placed at genuine pinch points, active trails, and food sources will teach you more than a dozen cameras scattered without a clear reason for each location.
3. Can I over-scout a property and hurt my hunting success?
Yes. Repeated intrusion into bedding areas, especially during daylight hours close to when you plan to hunt, can push mature bucks toward nocturnal movement or off the property entirely. Scout with a purpose, keep trips efficient, and avoid becoming a routine disturbance deer learn to expect.
4. What’s the single most important sign to look for?
There’s no single sign that beats the others — rubs, scrapes, trails, and bedding areas each answer a different question. The real skill is combining all four with confirmed food sources and wind data to build a complete picture rather than fixating on one type of sign alone.
5. Should I use mock scrapes as part of my scouting strategy?
Yes — a well-placed mock scrape, especially paired with a trail camera, is one of the most effective ways to confirm which bucks are using an area and when. It also gives you a controlled location to gather intel rather than relying entirely on natural sign you happen to find.
6. How does scouting change once the rut starts?
During the rut, bucks abandon predictable patterns to cruise widely in search of does, which makes fresh sign — especially active scrapes and rub lines — more valuable than older camera data. Scouting during this window should focus on locating current doe activity and travel corridors between bedding areas, since that’s where cruising bucks are most likely to show up.
🗺️ Final Thoughts: Scouting Is the Real Season
Most of what separates consistently successful whitetail hunters from everyone else happens long before opening day. E-scouting narrows down where to focus. Reading sign confirms what deer are actually doing on the ground. Trail cameras turn confirmation into an ongoing pattern. Understanding wind, thermals, and travel corridors turns that pattern into a huntable plan. And scouting in phases — post-season, summer, pre-season, and light in-season checks — keeps that plan fresh without wearing out the exact spot you’re counting on.
Put this same effort into the rest of your season planning. Time your sits around the best time to hunt deer, stock up using a full deer hunting gear checklist, and consider pairing your scouting intel with a deer decoy or one of the best deer calls once you know exactly where and when deer are moving. If you’re just getting started, a solid deer hunting book is a good companion to everything covered here. Scout like it’s the most important part of your season — because it is.
This guide is for general educational purposes. Always follow local hunting regulations regarding trail camera use, baiting, and land access, and obtain permission before scouting private property. Explore our tripod deer stand guide and deer hoist recommendations to round out your season planning.

Leave a Reply